Bria iPad Setup
1) Open App
2) Click on wrench in upper right corner to go to settings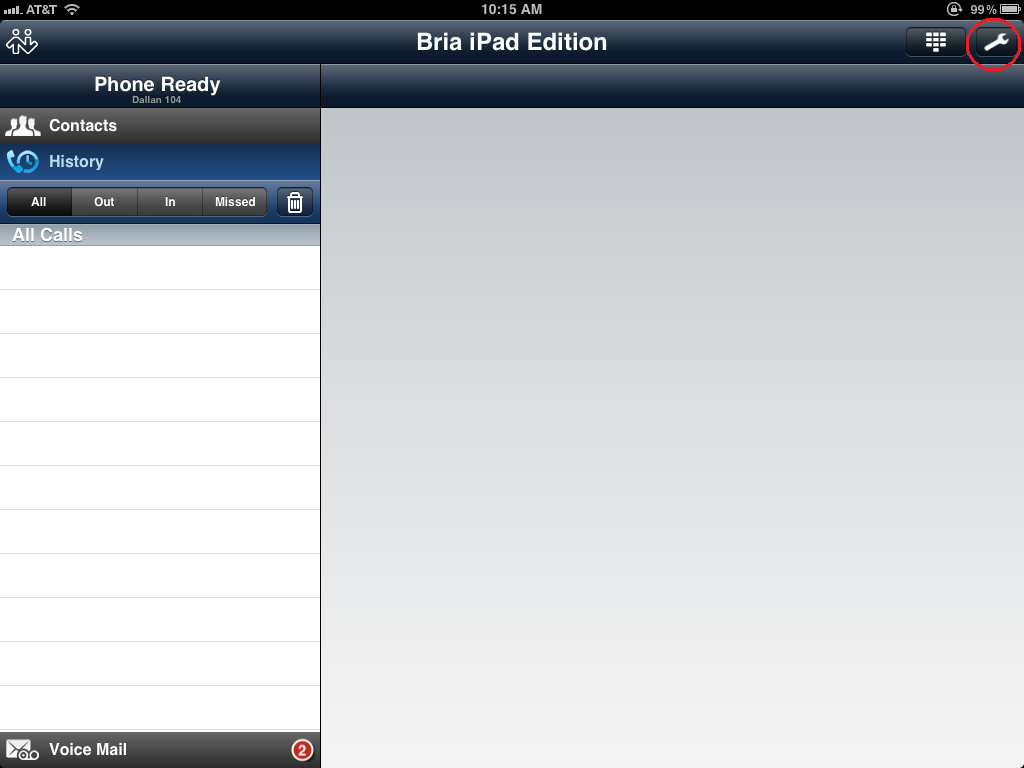

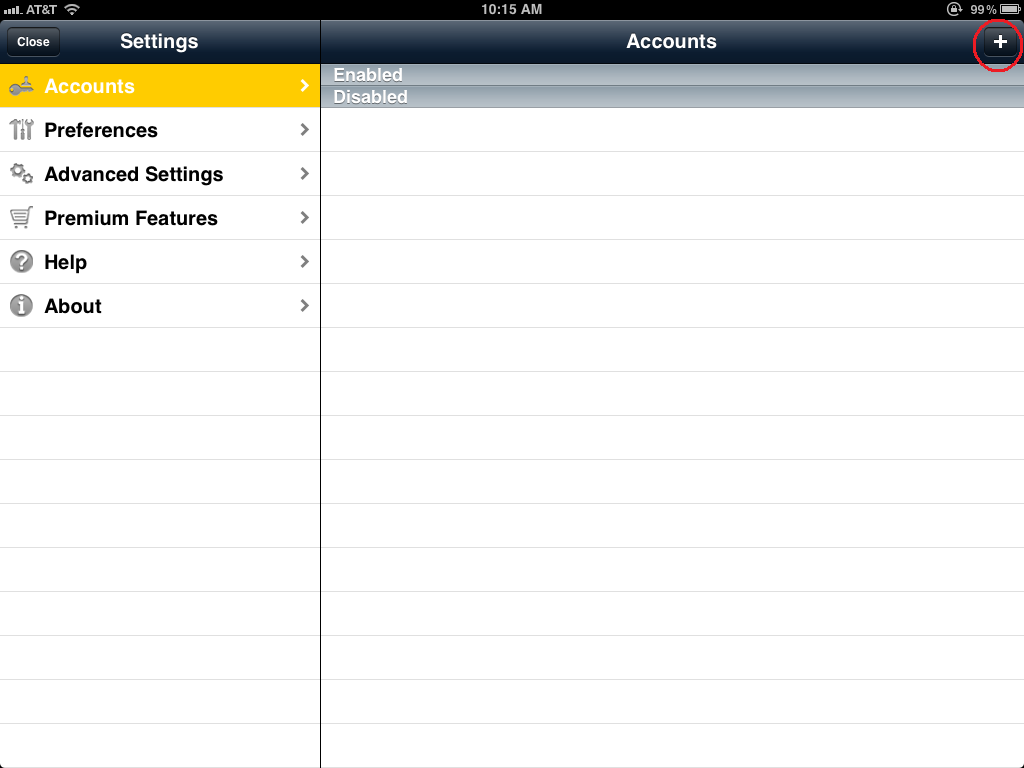
This is the Accounts main screen
3) Click on the + in the upper right corner to add your new account
You will then see the User-defined Accounts screen
4) Select the 1st option “SIP Making Calls”

You will then see the New SIP Account screen
You must get the next 3 variables from No Contract VoIP
5) Account name = Your company name & extension i.e. My Company 104
This is how the account is listed on your iPad ( just in case you have multiple accounts ) 6) Display = Your name or extension i.e. Chris L
This is what other users on the system see when you call them
7) Username = User Assigned By No Contract VoIP
8) Password = Password Assigned By No Contract VoIP
9) Domain = Domain Assigned By No Contract VoIP
10) VM Number = *98
Then
11) Click on Account Advanced at the bottom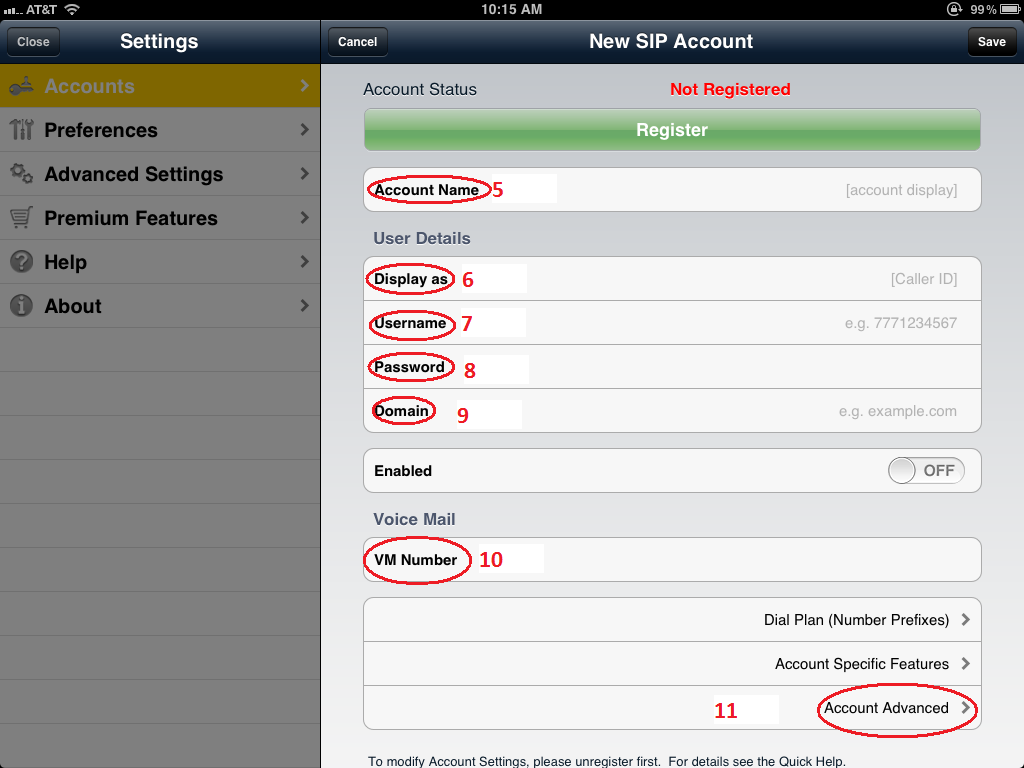
Account Advanced screen
12) The 1st option Out. Proxy should be set to “sip.voipco.co”
12a) Slide “Global IP Wi-Fi” to off
12b) Slide “Global IP Mobile to off
Then
13) Tap “Send DTMF using”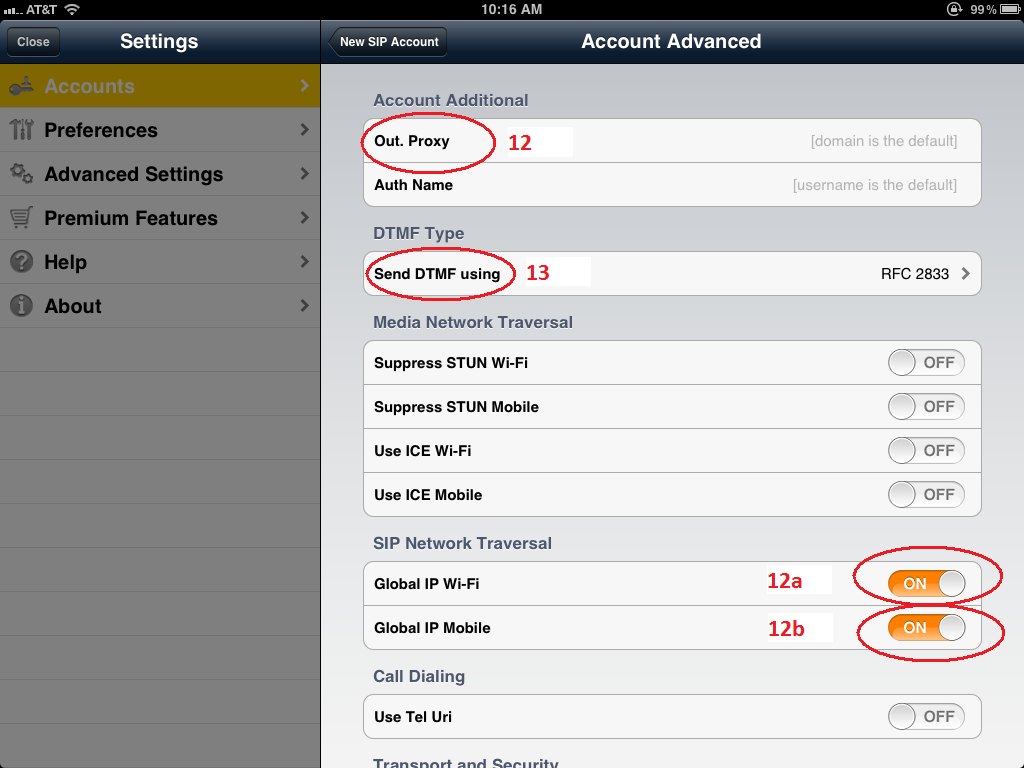
14) Then tap the New SIP Account button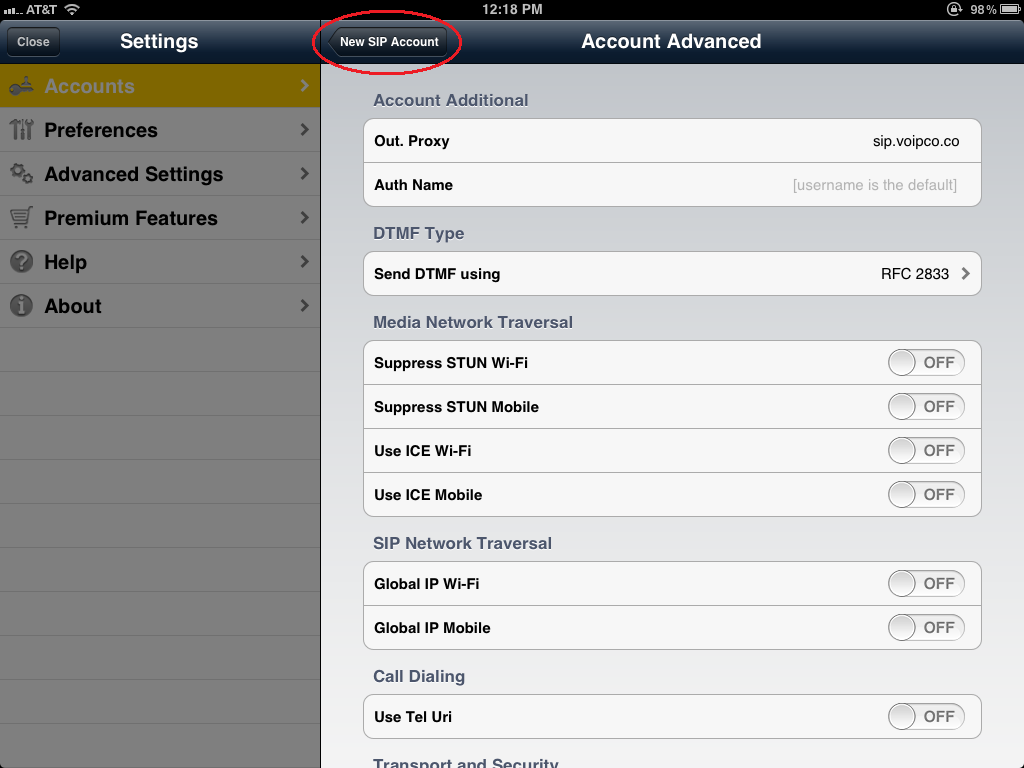
Then you will see this screen
15) Then tap the Enable switch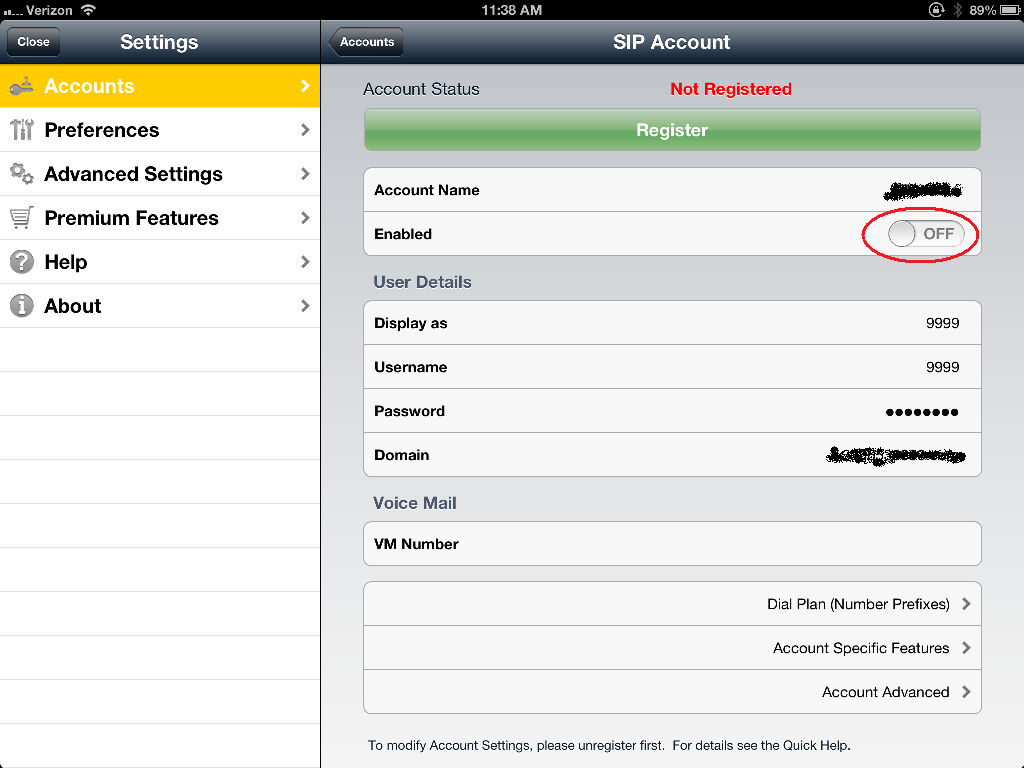
Then you will see this screen when the phone is registered
16) Then tap the Close button in the upper left corner to use the phone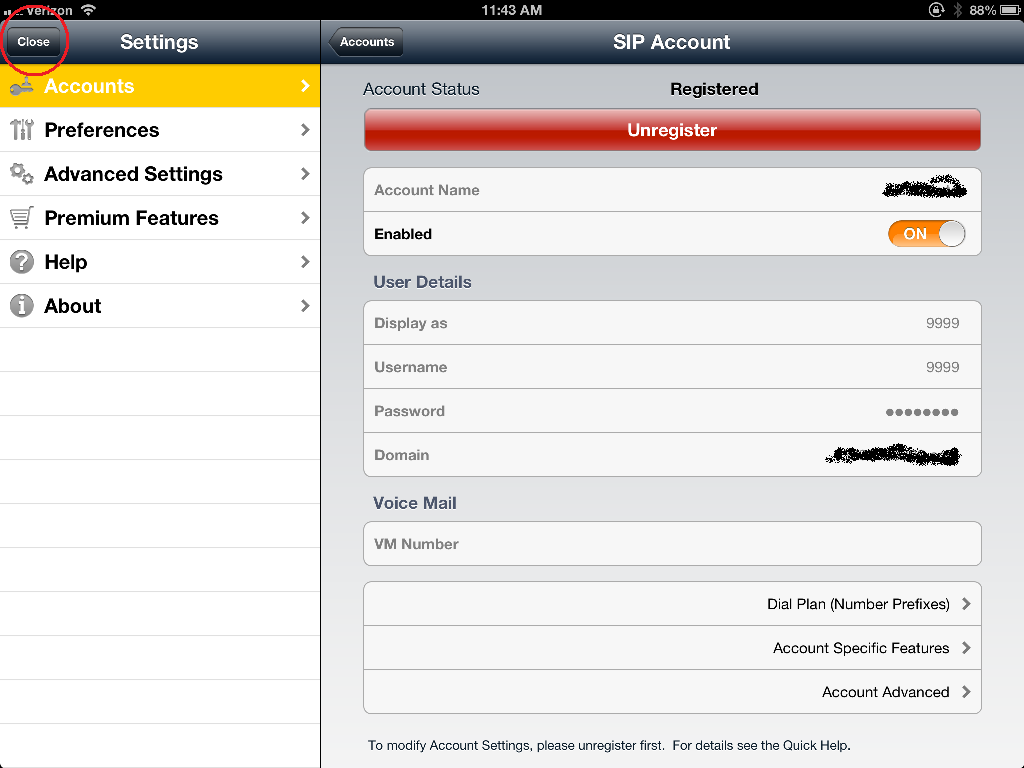
Then you will see this screen
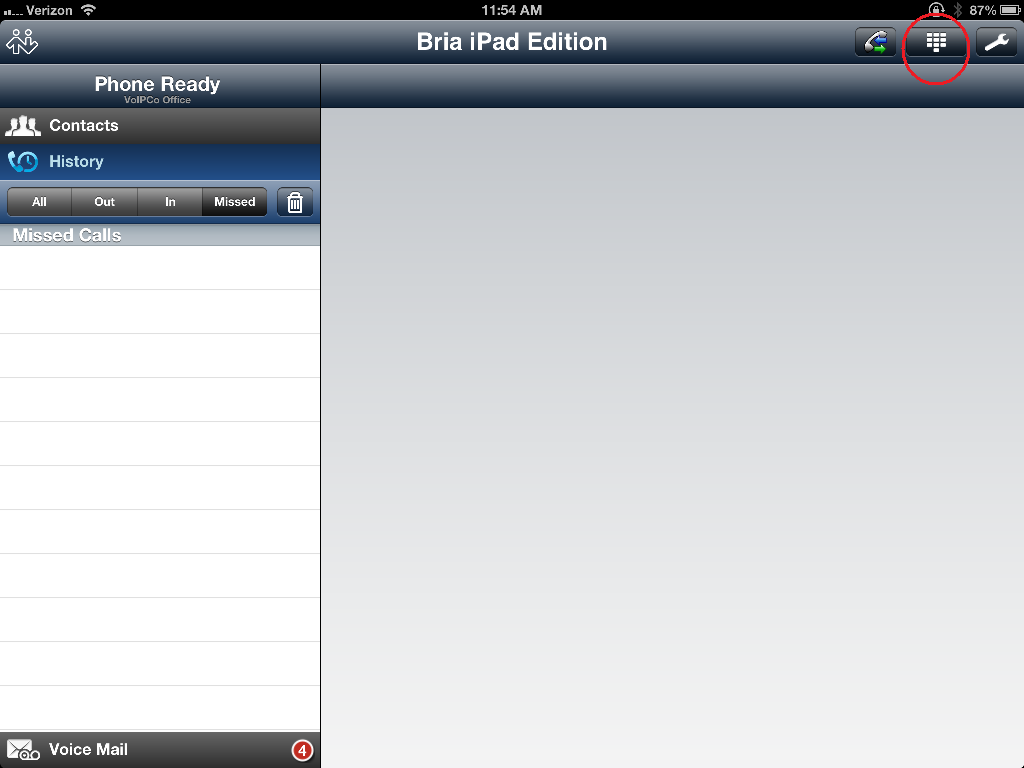
17) Tap the dial pad in the upper right corner to dial a call